Features:
1. This is a professional print head that is compatible with a wide range of models.
2. This print head is smooth and stable, and the color is natural. It is a worthy print replacement that you deserve.
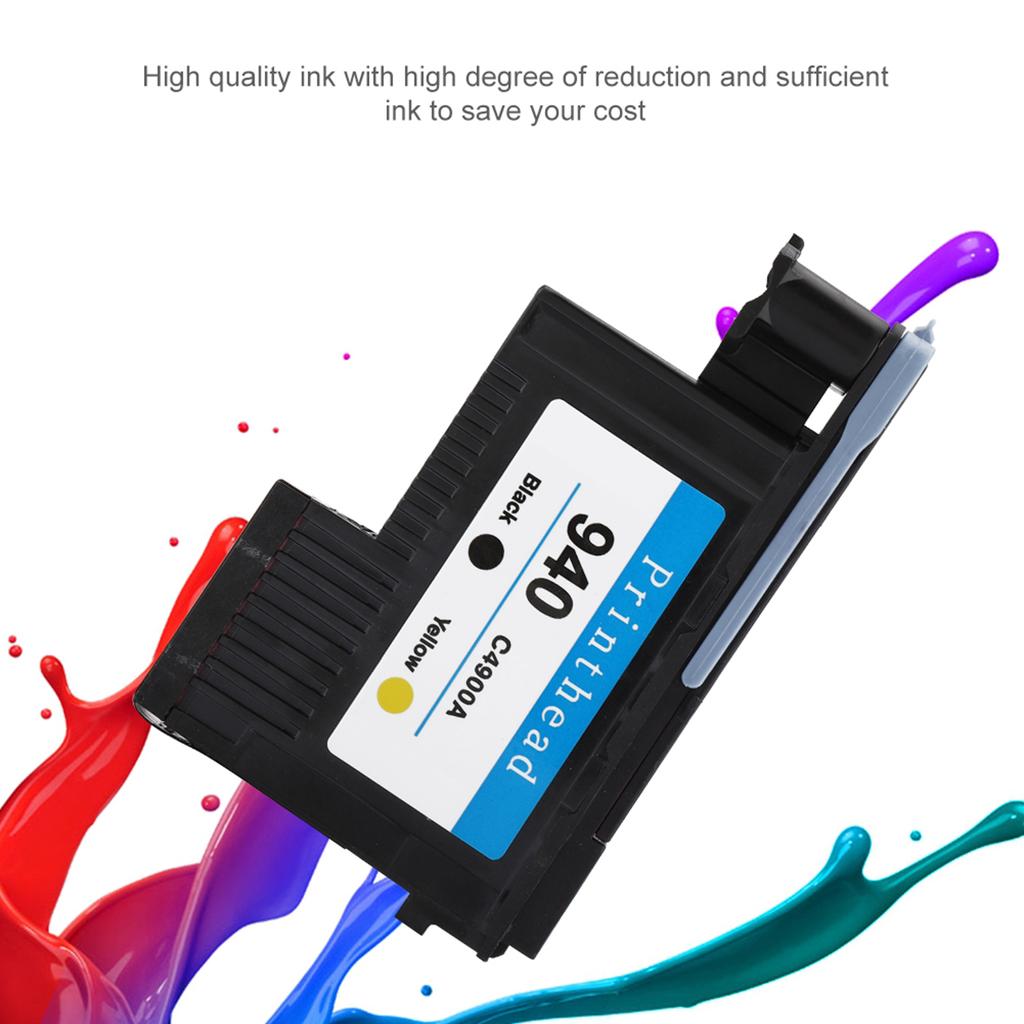
3. Ink with high degree of reduction and sufficient ink to save your cost.
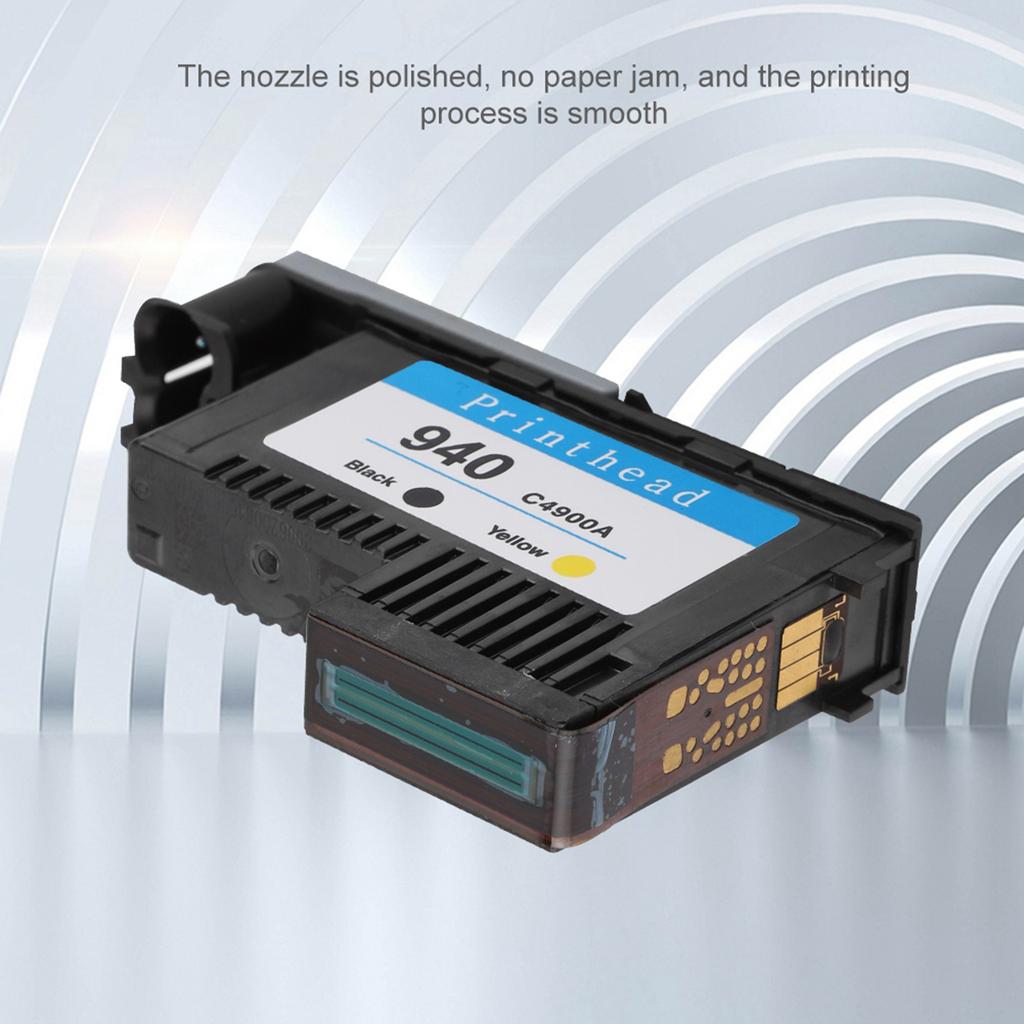
4. The nozzle is polished, no paper jam, and the printing process is smooth.
5. All use Bayer raw materials from Germany, the quality is guaranteed.
Specification:
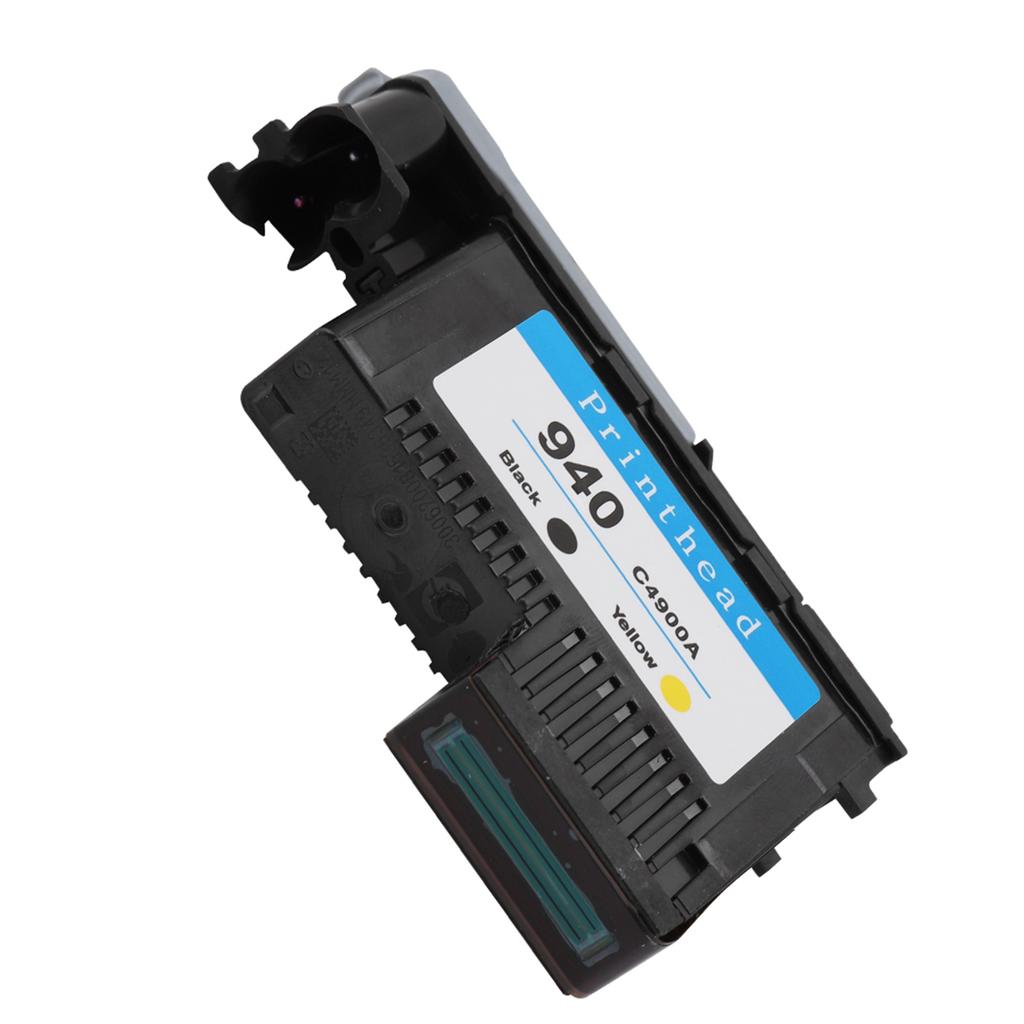
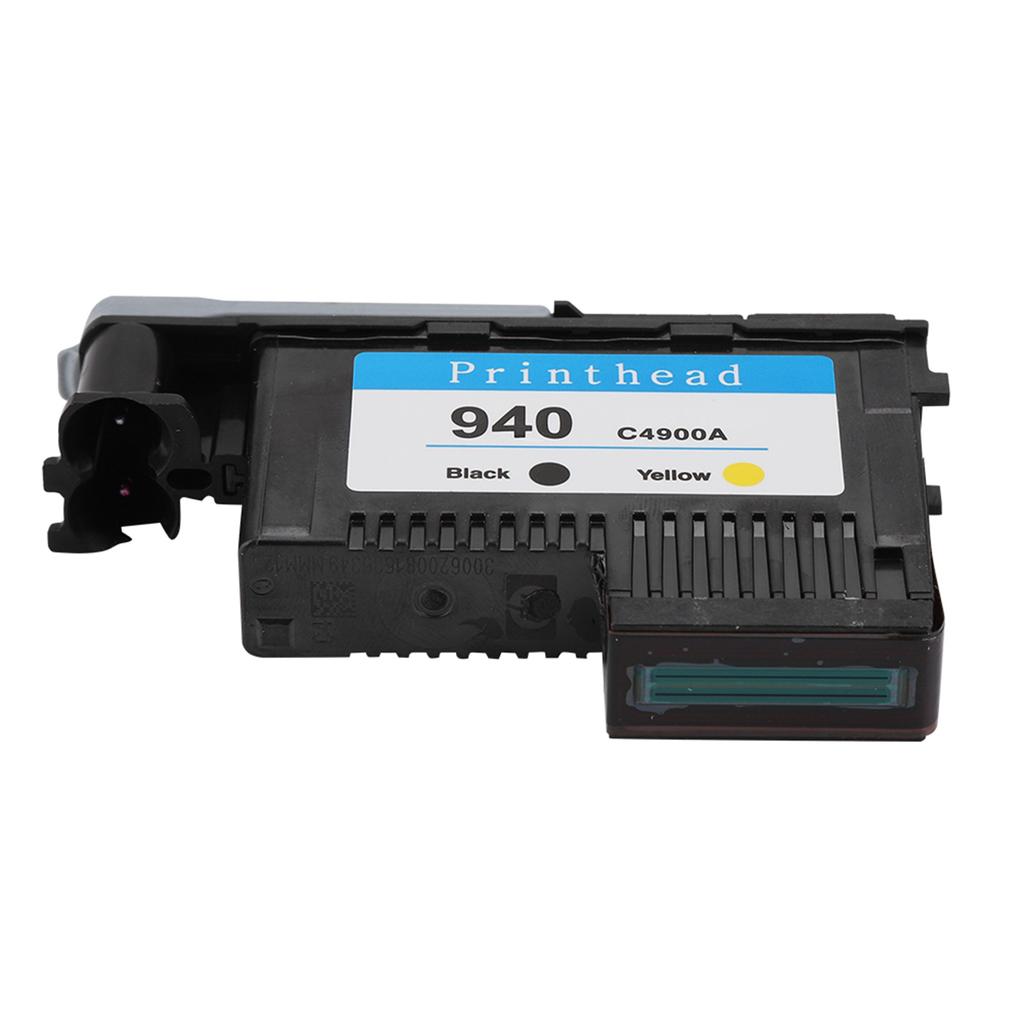
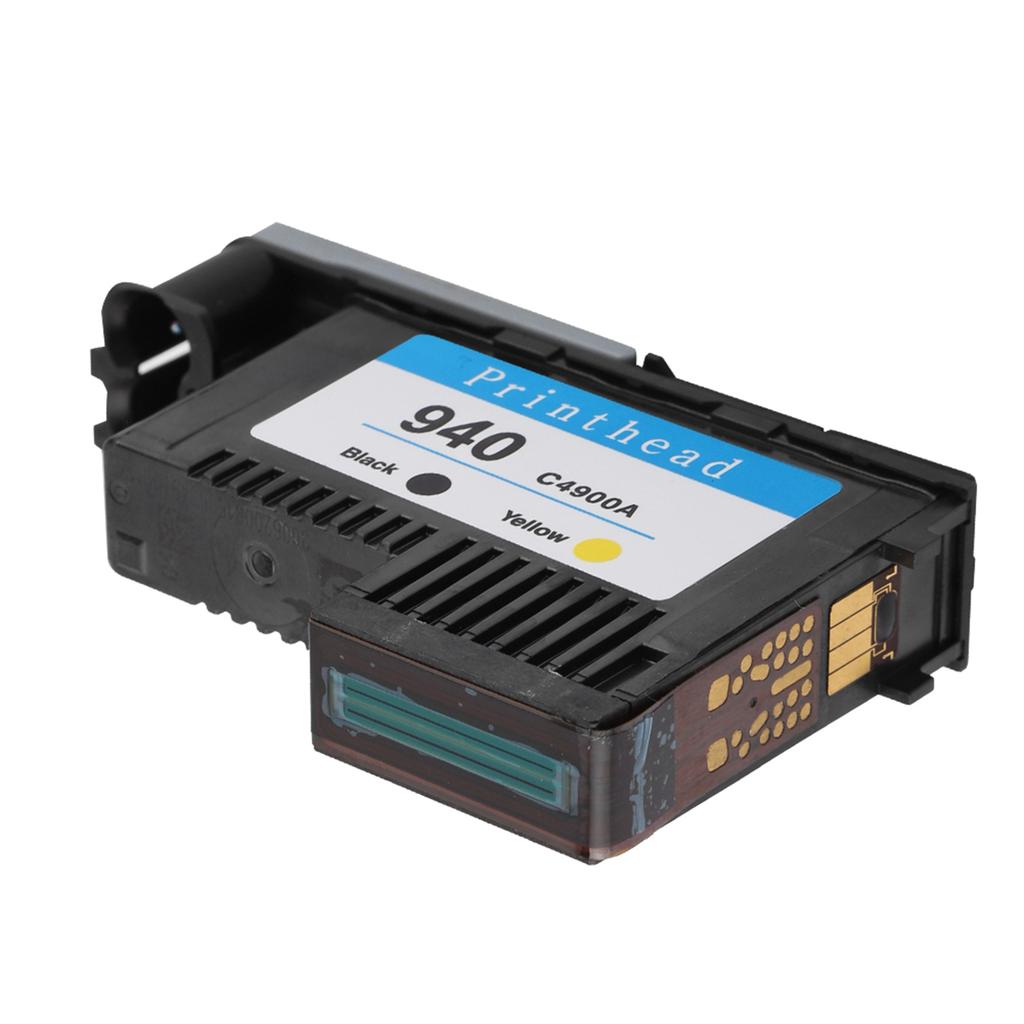
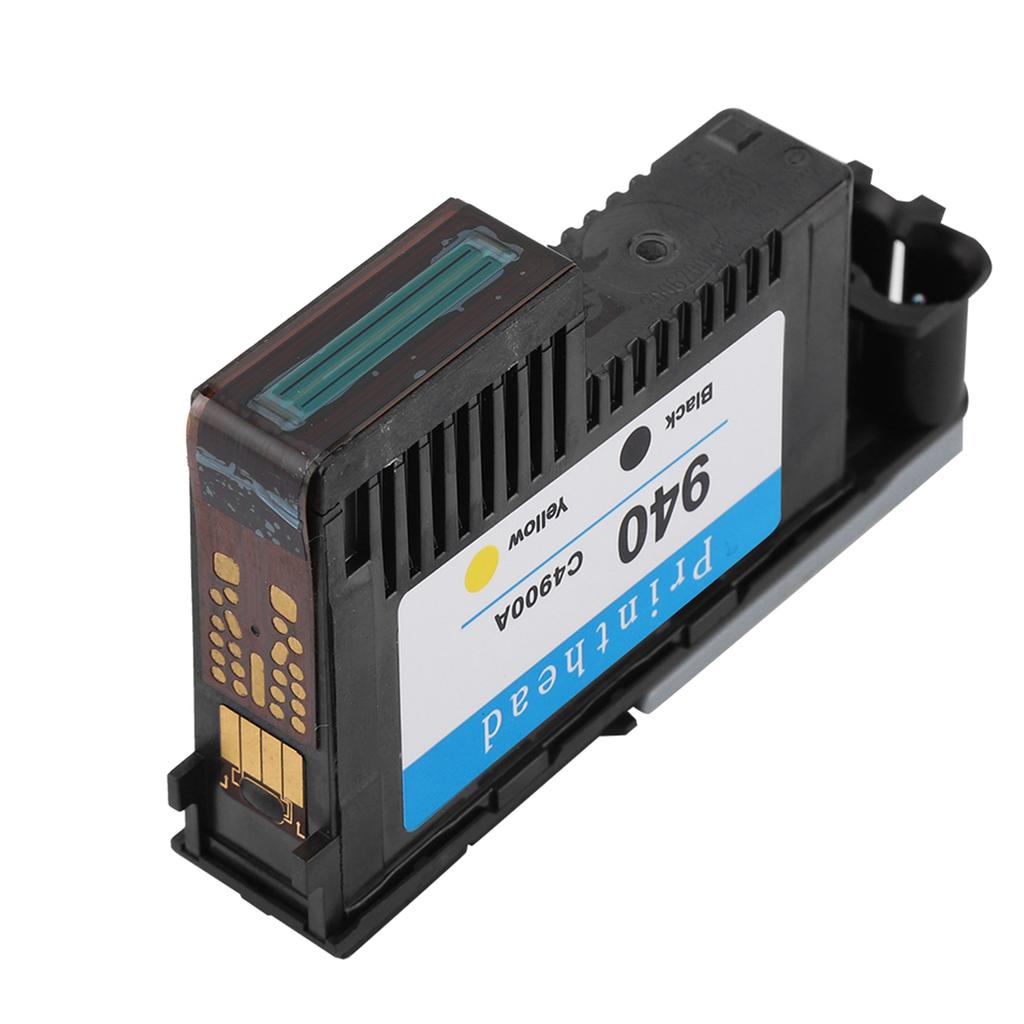
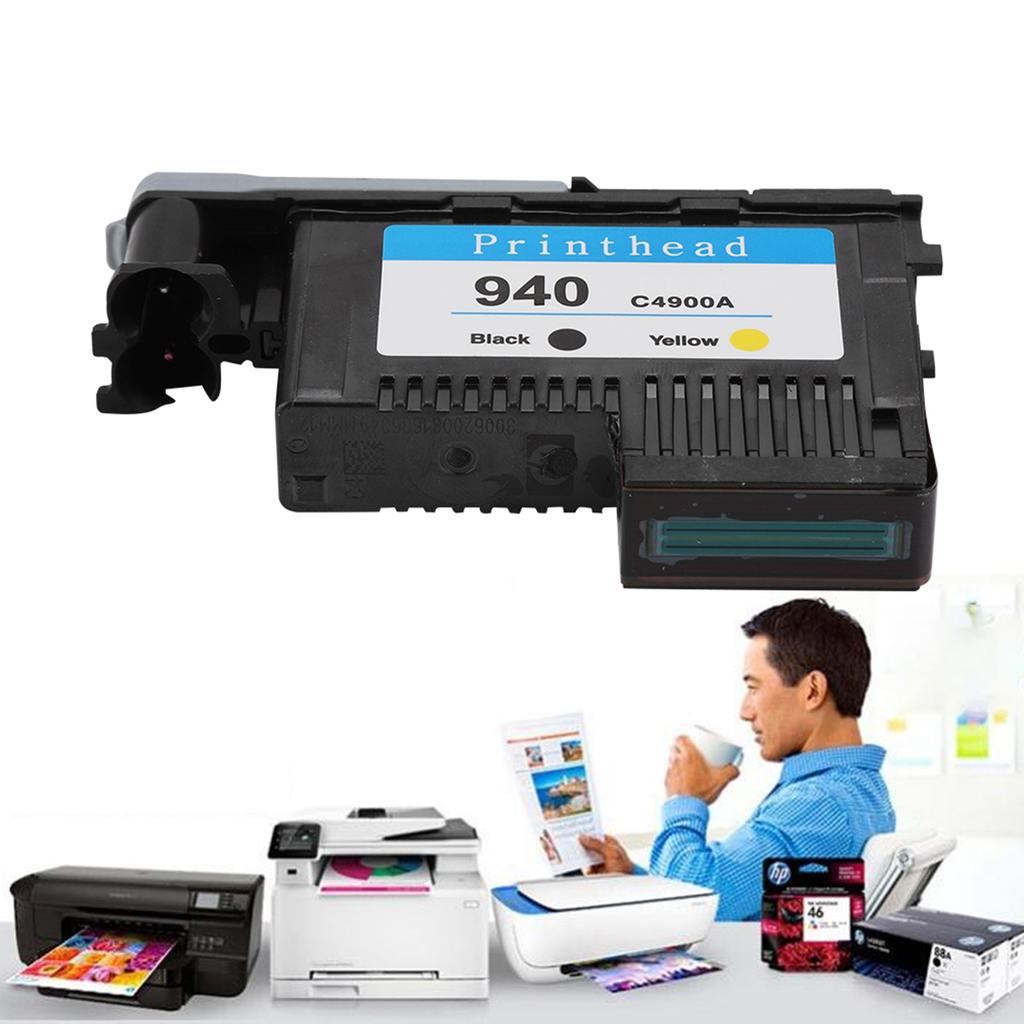
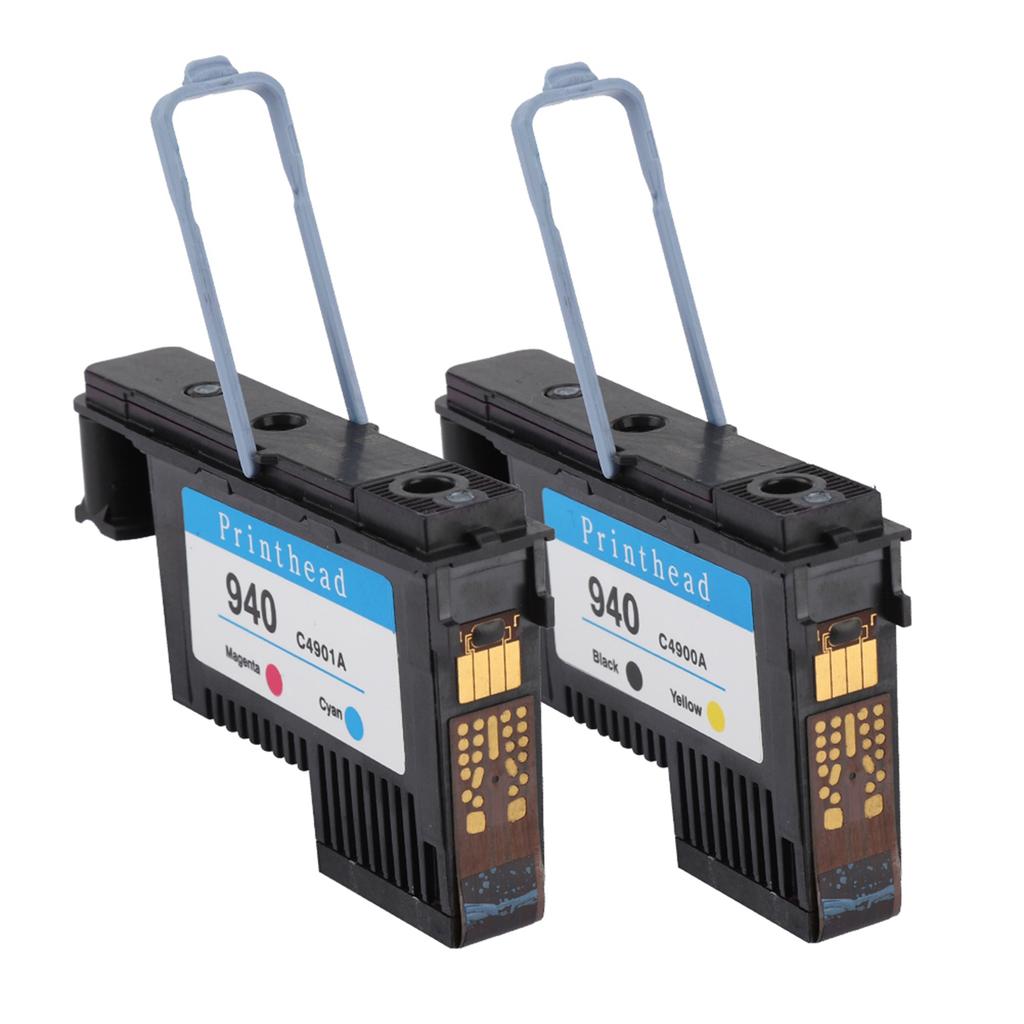
Color: Black Yellow, Magenta Cyan, CMYK (Optional)
Applicable models:
for
HP Officejet Pro8000 8500 8500A Printhead
Size: Approx. 94 x 57 x 20 mm 3.7 x 2.2 x 0.8in
Weight: approx. 80 160g
Note:
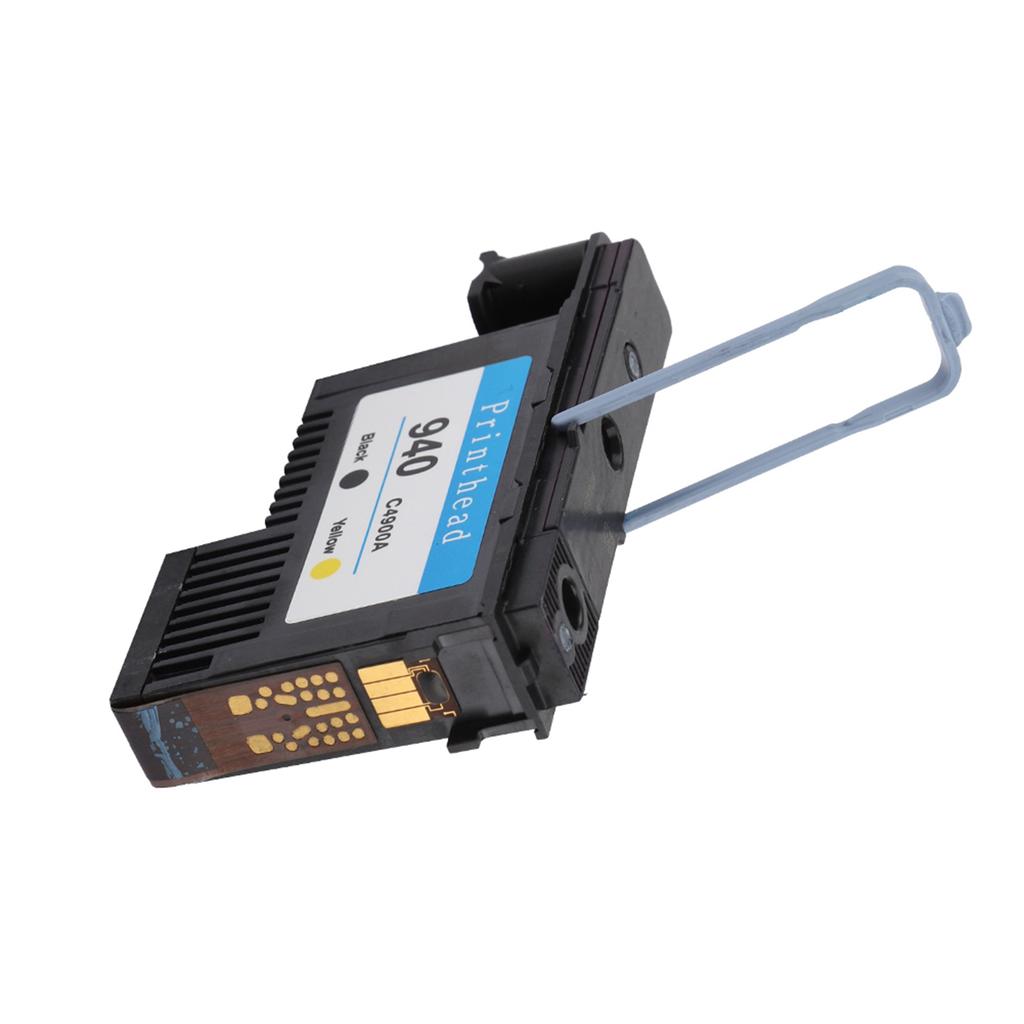
Please remove the polishing cardboard nozzle and remove the orange rubber plug before installation.
Instructions:
After receiving the product, remove the nozzle from the package. Before disassembling the protective device, shake the nozzle continuously to the left and right according to the figure to achieve the best use effect to achieve the best use effect. Then remove the protective device (orange with the outwardly turned handle). In order to avoid the internal inverted buckle of the protective device from damaging the circuit of the print head and causing the print head to fail to operate, pay attention to push the handle out as hard as possible. Then pull the reminder label together with the sealing blue tape to tear off. Finally, pull out the protective plug of the ink supply needle (the orange belt, please shake the nozzle arrow left and right before opening the protective clip).
Installation steps:First take out the two old print heads, close the cover and turn on the printer power normally. After the print head indicator on the machine flashes, open the cover. At this time, the print head carriage (carriage) in the machine will move to the left of the machine. After it stops, install the two nozzles one by one and close the machine cover. The machine will perform calibration and print a test page. Some models will prompt calibration failed or calibration failed (this is a technical obstacle set by the original company for its products to monopolize the market, but the chip has a memory function after all nozzles are regenerated, making the calibration fail , Has nothing to do with the quality of the regeneration nozzle). In such a situation, click the OK or Confirm button on the machine panel according to the prompts, and the printing will proceed normally.
Reminder: Some models will calibrate and print a test page every time they are turned on. This is normal and has nothing to do with the quality of the print head. Just click the 0k or confirm button on the machine
panel. It will not be calibrated every time you print without turning off the machine. Some models of the machine
will perform a longer calibration before and after the first printing, which lasts about 20 minutes. At this time, please do not turn off the machine
or press any control keys to avoid affecting the calibration.
Precautions:
(1) Avoid physical contact with the nozzle holes and circuits of the nozzle to avoid electrostatic breakdown of electronic
components and damage.
(2) Check whether there is enough ink
in the ink
cartridge
of the printer
at any time, and add it in time to avoid the lack of ink
to burn the nozzle.
(3) The machine
should not be left unused for too long
to avoid clogging of the nozzles without a long
time.
(4) The nozzles and ink
cartridges should not be removed frequently or not installed for a long
time, so as to prevent the ink
supply pipe
from entering the air
and causing the ink
supply to be discontinuous, and the nozzle lack of ink
will affect the printing effect or burn the nozzle.
(5) If it prompts KY print head failure or C business head failure , try to take out the two print heads, gently wipe the circuit contacts of the failed print head with an eraser, and then install and use.
(6) When the printing effect is not satisfactory, the machine
with a control panel can execute the item cleaning nozzle in the setting option on the panel. When a machine
without a control panel is printing, a printer
icon
will appear in the lower right corner of the computer screen. After clicking on it, click Printer
and then Properties in the dialog box
of the county float
, and then find the Printer
cleaning item after entering. Different models have different attributes, and some models may not have this function. The nozzle can be taken out and soak the nozzle hole with clean
50 60 degree drinking water for 3 5 minutes. Pay attention to the nozzle hole soaking, and the water level
should not be higher than the circuit contact. Then lightly print the nozzle hole with a clean
paper towel, and print several times And clean
the water stains before installing the machine
to use.
It is also recommended to set the print quality to best
quality to also improve the printing effect.
.