Features:
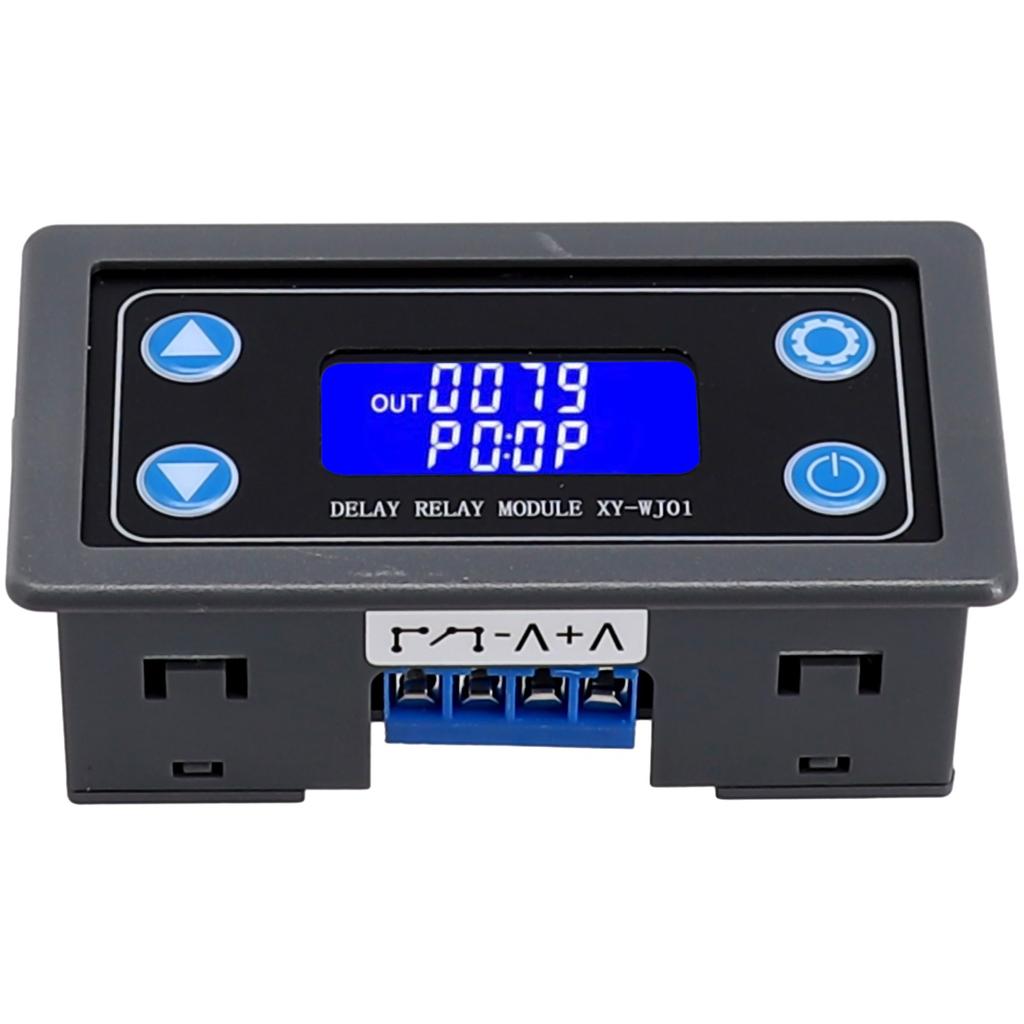
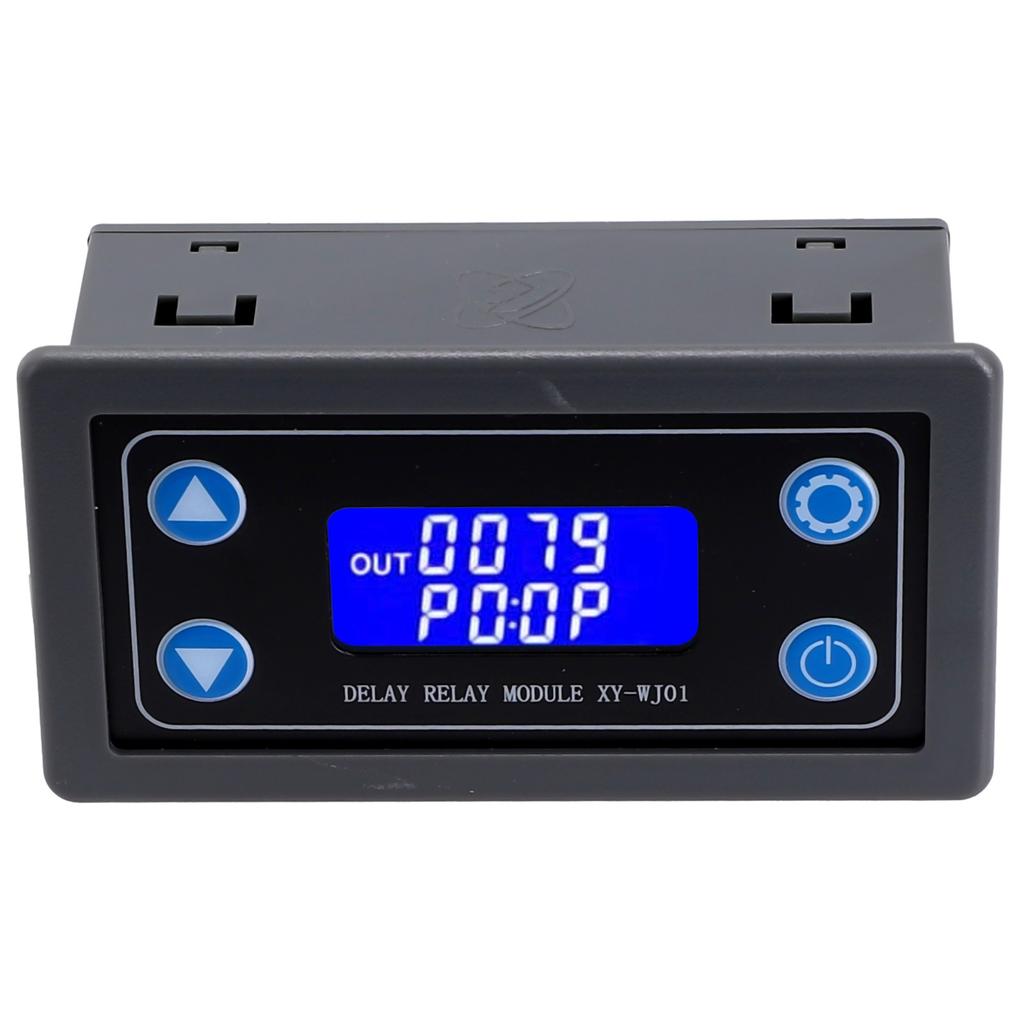
1. With LCD display, the current mode and parameters are clear at a glance, very clear and easy to use;
2. Support button trigger control, high and low level trigger, switch control, suitable for most occasions;
3. Wide voltage power supply (6-30V), use very build order;
4. Support UART data upload and parameter setting;
5. With comment pause function, with reverse connection protection, reverse connection will not burn;
6. The sleep mode is added. After enabling, the LCD backlight will be automatically turned off without any for about 5 minutes; any key to wake up;
7. Different OP, CL, LOP parameters can be set, and these parameters are saved independently of each other;
8. All set parameters are automatically saved after power-off;
Specification:
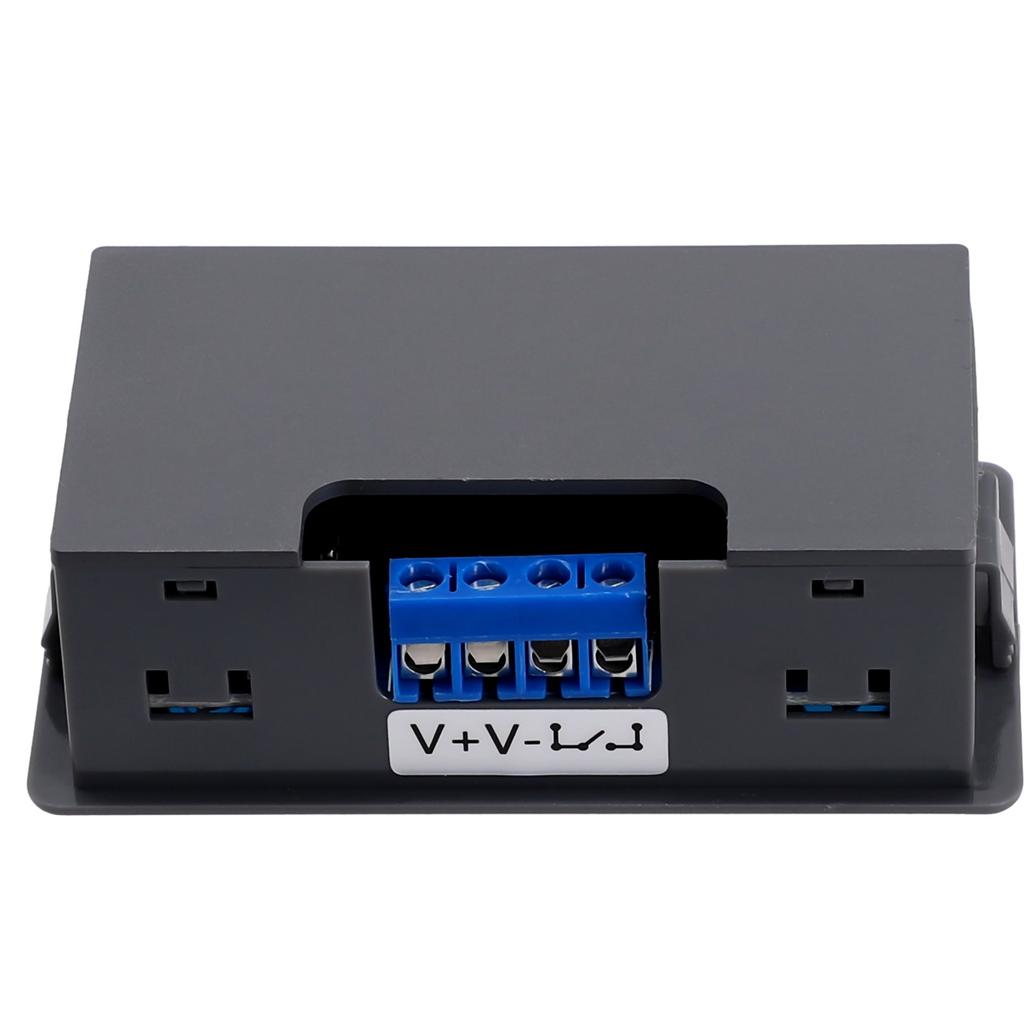
Working voltage: 6-30V power supply;
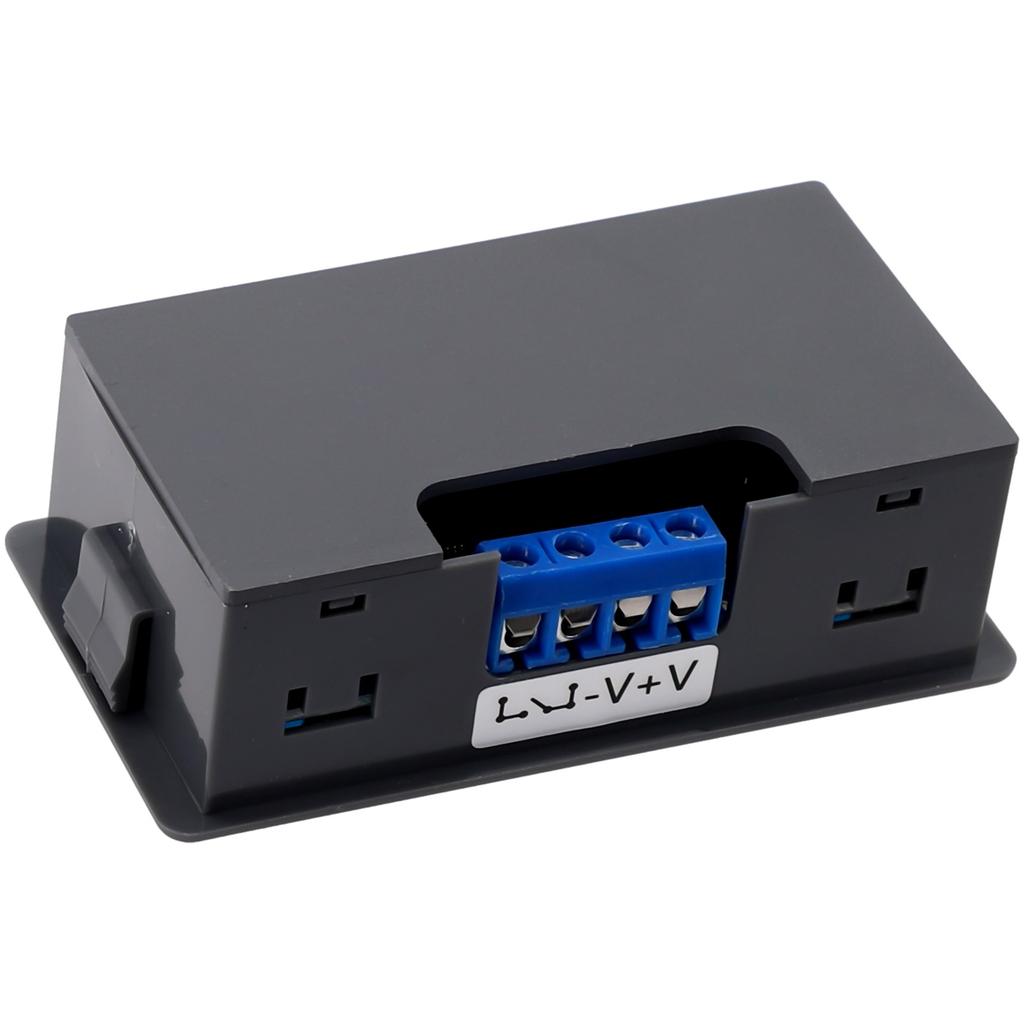
Trigger signal source: high level trigger (3.0V-24V), Low level trigger (0.0V-0.2V), Switch control (passive switch);
Output capacity: can control equipment within DC 30V 10A or AC 220V 5A;
Quiescent current: 15mA;
Working current: 50mA;
Service life: more than 100,000 times;
Working temperature: -40-85℃;
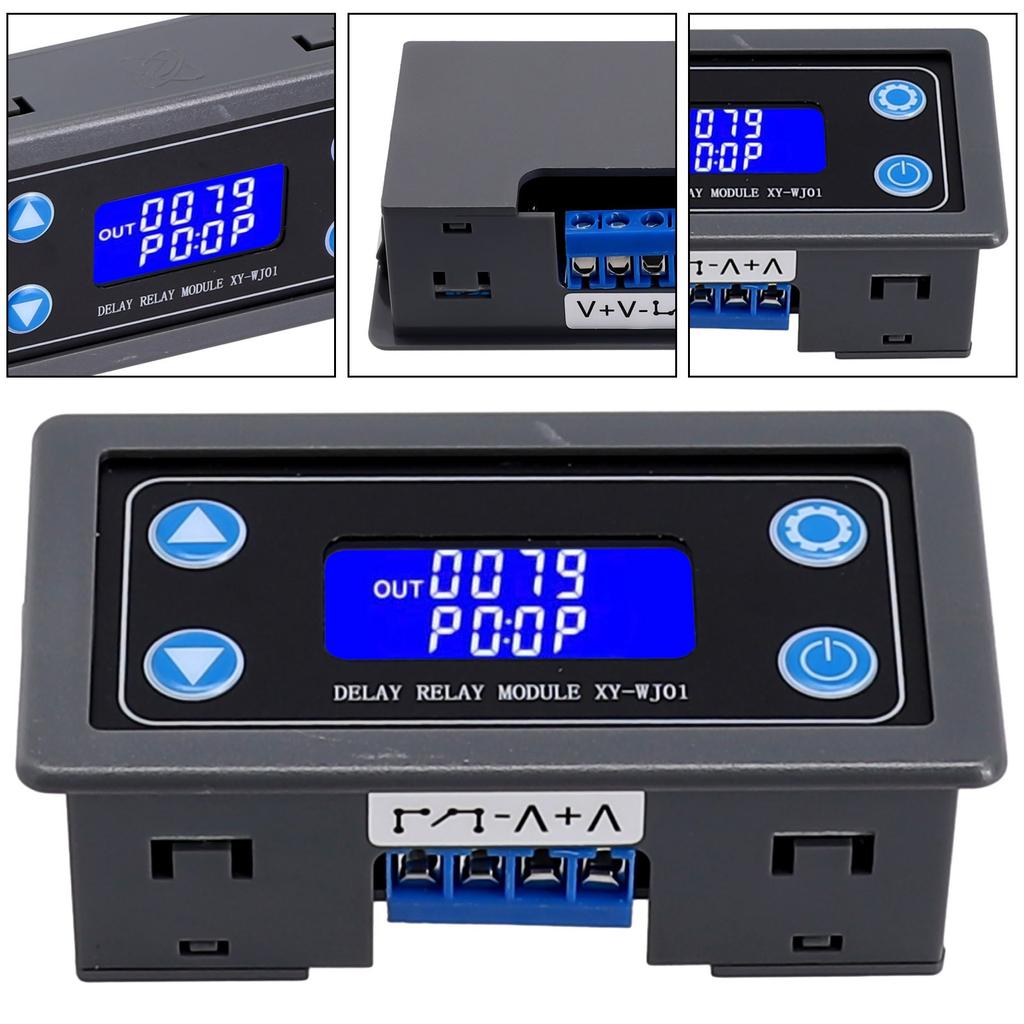
Product size: 7.1*3.9*2.5cm
Timing range: 0.01 second to 9999 minutes (peak value) continuously adjustable
With optocoupler isolation, enhanced anti-interference ability, industrial-grade circuit board, set the parameter point and remember forever.
Timing range: 0.01 second -9999 minutes
packing list: 1*time relay
Operating mode:
P0: After the signal is triggered, the relay is turned on for 0P time and then turned off; within the 0P time, the signal is triggered again invalid;
P1: After the signal is triggered, the relay is turned on for 0P time, and then turned off; within the 0P time, the signal is triggered again to re-timing;
P2: After the signal is triggered, the relay is turned on for 0P and then disconnected; within the 0P time, the signal triggers the reset again, the relay is disconnected, and the timing stops;
P3: After the signal is triggered, the relay is disconnected for CL time, and then the relay is turned on;
P4: Give the trigger signal, after the relay is turned on for 0P, the relay will disconnect the CL time, and then cycle the above actions, give the signal again in the cycle, restore the initial state, and stop timing; the number of cycles (L0P) can be set; the cycle ends, keep the relay disconnect;
P5: Give the trigger signal, after the relay is disconnected from the CL time, the relay will be turned on for 0P time, and then cycle the above actions, give the signal again in the cycle, return to the initial state, and stop timing; the number of cycles (L0P) can be set; the cycle ends, save the relay Turn on
P6: No trigger signal is needed after power-on, the relay is turned on for 0P time, and the relay is turned off for CL time, and the above actions are cycled; the number of cycles (LOP) can be set, and the cycle ends and the relay is kept off;
P7: No need to trigger signal after power-on, relay short circuit CL time, relay on OP time, loop appeal ; loop here (LOP) can be set; loop ends, keep the relay on;
P8: Signal holding function, if there is a trigger signal, the timer is cleared and the relay remains on; when the signal disappears, the relay is disconnected after the timer is 0P; during the timer, there is another signal, and the timer is cleared;
P9: Signal hold function, if there is a trigger signal, the timer is cleared and the relay remains off; when the signal disappears, the relay is turned on after timing CL; during the timing, there is another signal, and the timer is cleared;
(P0-P7) mode, short press the pause button, when the does not trigger the timing, the starts timing; when the is already timing, the pauses timing, the relay is disconnected, and "OUT" flashes as a reminder;
(P8-P9) mode, the pause button on the running interface is used as a trigger signal, and its button function is invalid for short press/long press;
parameter settings:
1. Enter the setting interface through the landing setting button;
2. set the working mode, the working mode flashes to remind, short press the increase/decrease key to set the working mode;
3. Short press the setting button, select the working mode, and enter the parameter setting;
4. In the parameter setting interface, short press the setting button to switch the parameter to be modified, short press/long press the increase/decrease button to modify;
(Note: Short press the setting button is invalid in P0-P3/P8/P9 mode);
5. In the 0P/CL parameter modification interface, short press the pause button to switch the timing unit (1S/0.1S/0.01S/1min);
6. After all parameter settings are completed, press and hold the setting button to save the parameter settings and exit the setting interface;
Timing range:
How to choose the timing range:
In the OP/CL parameter modification interface, short press the pause button to select the timing range;