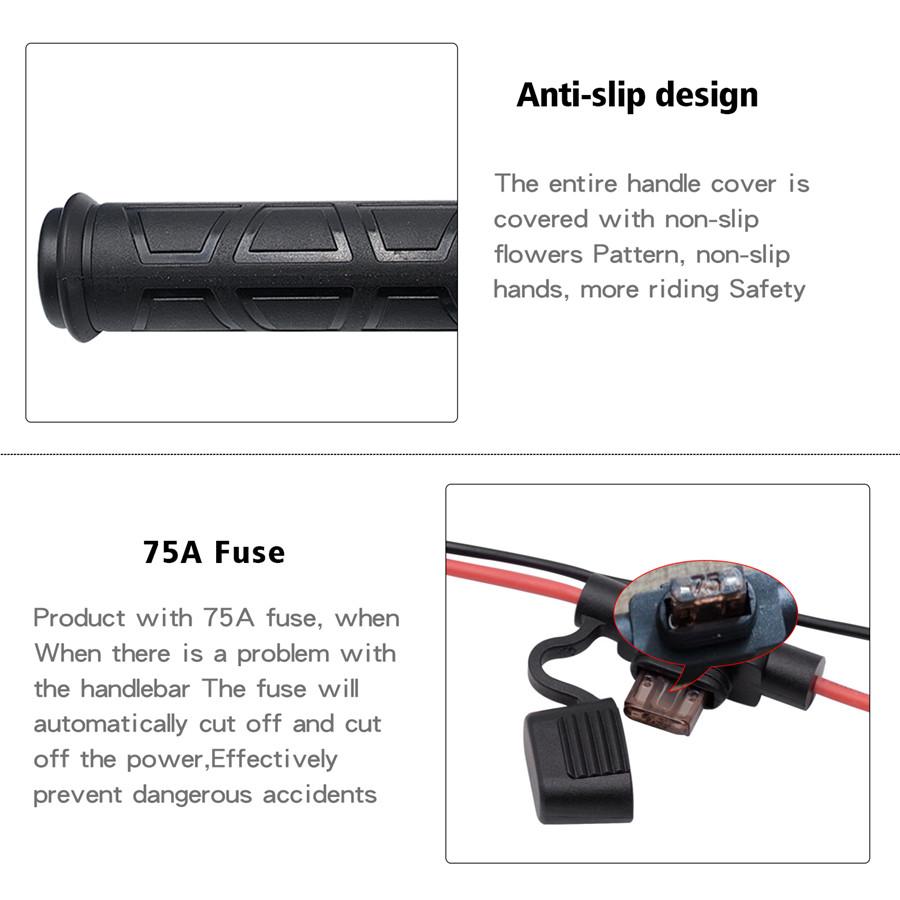
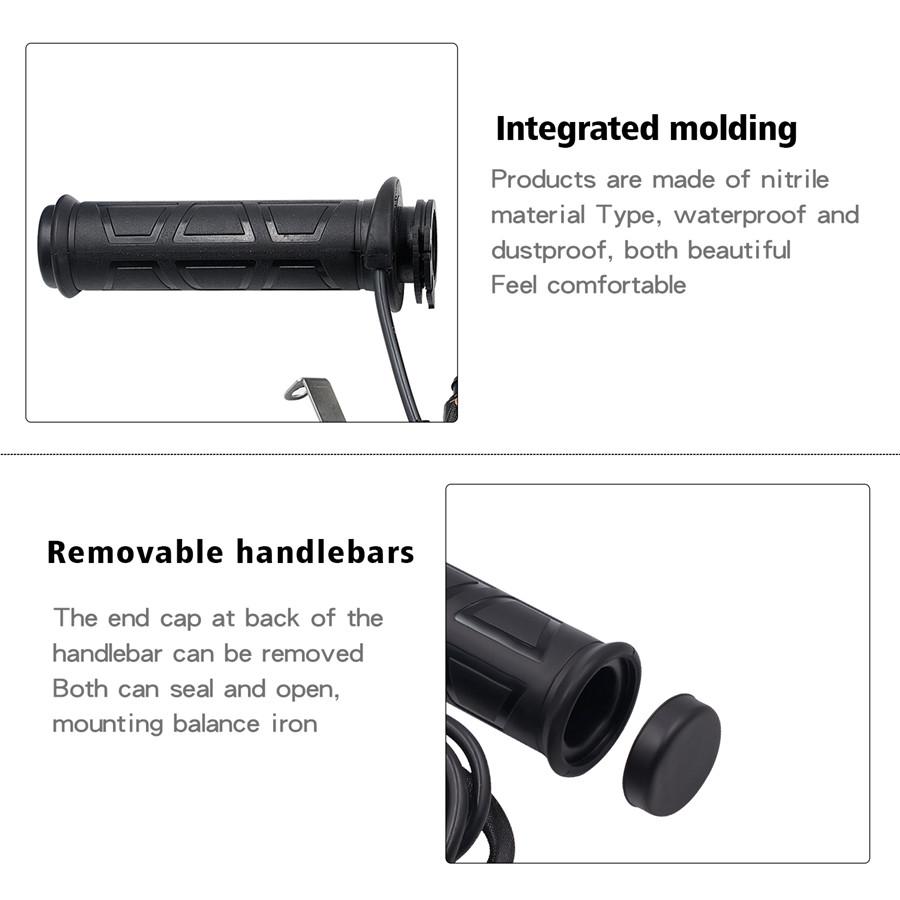
[Product material]: Nitrile material
[Length of handle]: Left handle: 143 * 36MM; Right handle: 127 * 36mm
[Product color]: black
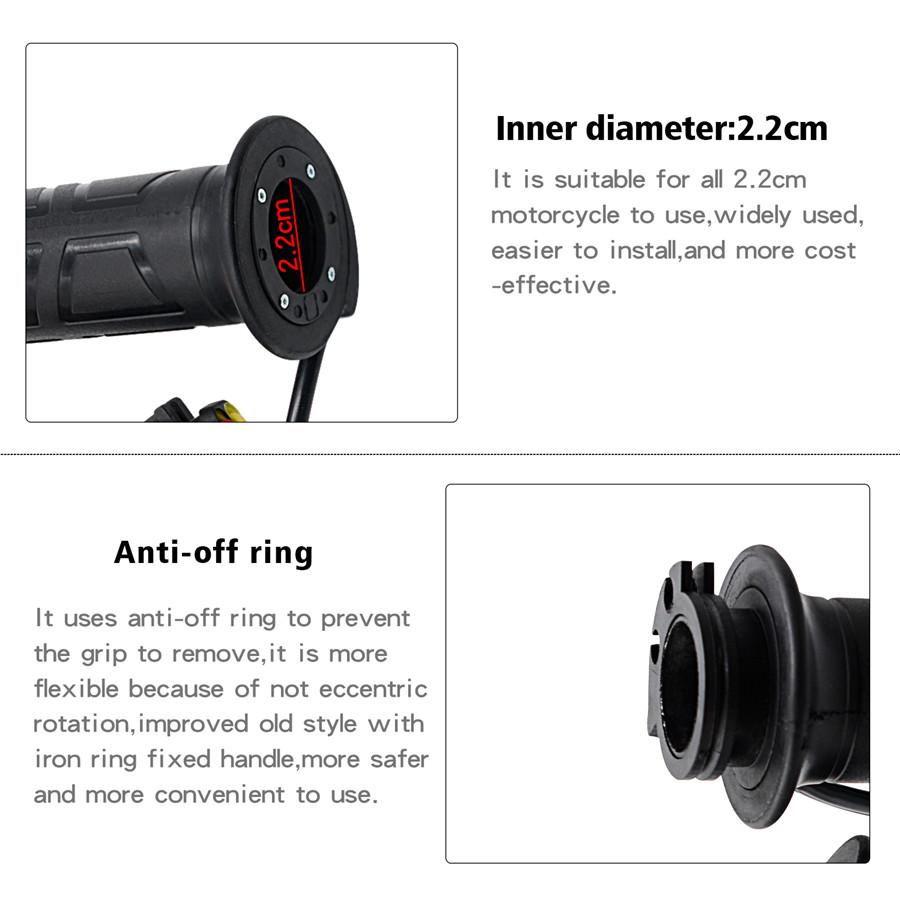
[Suitable pipe diameter]: 22mm
[Input voltage]: DC12V
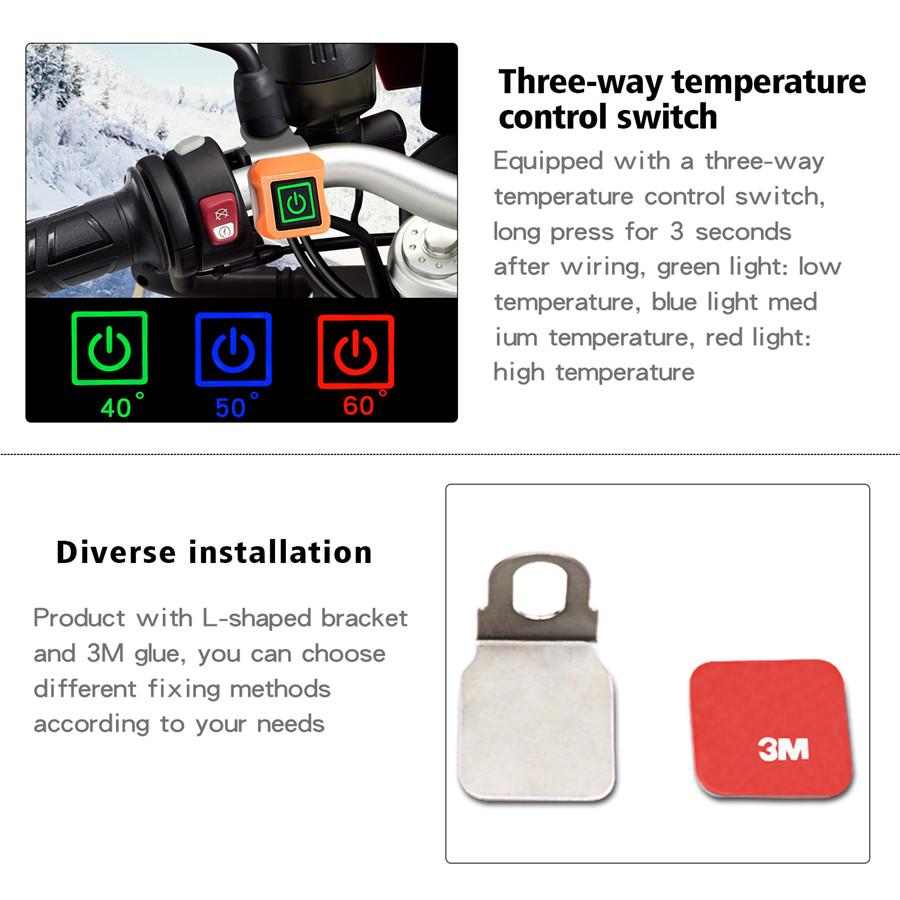
[Product power]: Red light 35W, blue light 25W, green light 17W
[Handle temperature]: Low temperature 40 ° C, medium temperature 50 ° C, high temperature 60 ° C
[Switch type]: Multi-level adjustable temperature control switch
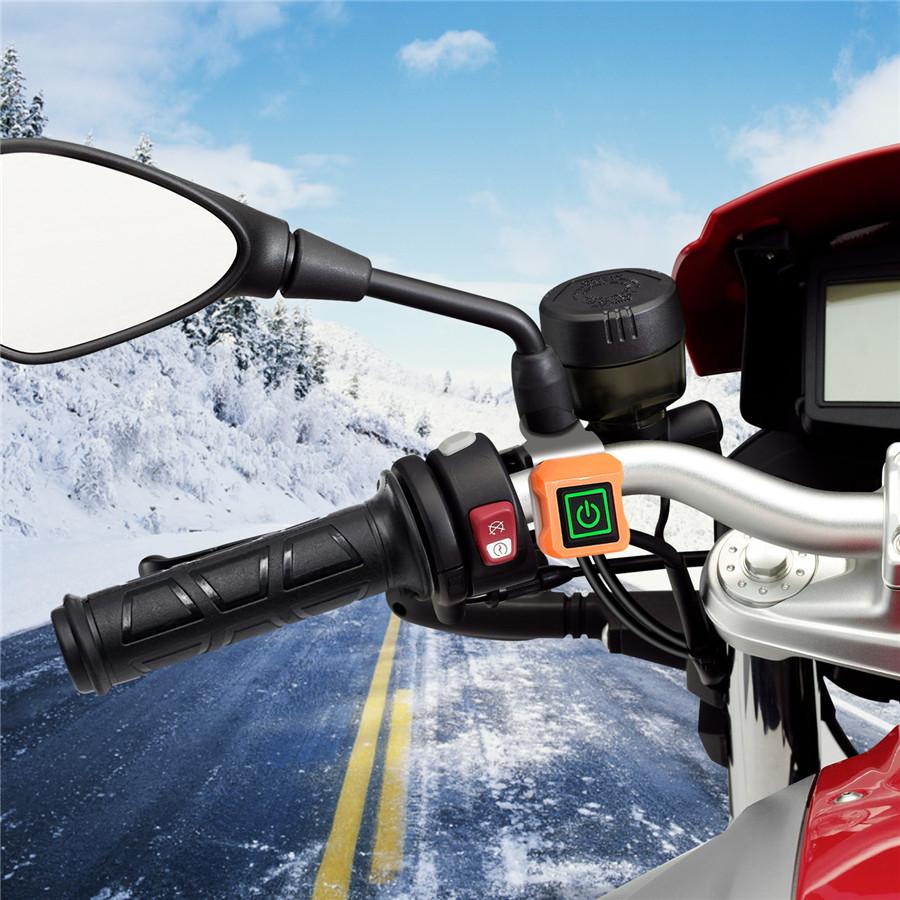
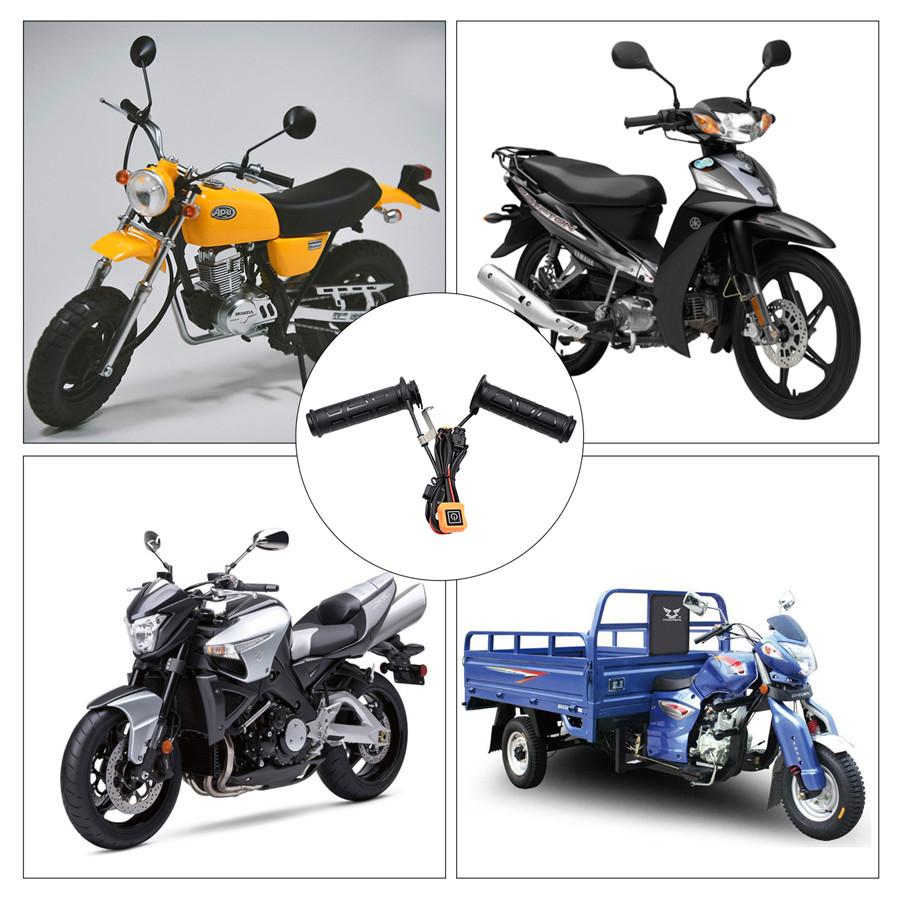
[Applicable models]: 12V motorcycle with a handle diameter of 22mm
[Product accessories]: 3M rubber x1, rearview mirror fixing bracket x1
[Operation Instructions]:
[1] Power on: Red light, blue light, green light flashes once after each turn off
[2] Standby: Red light breathing flashing state, the temperature will automatically turn into blue light mid-range after 2 hours, and it will automatically shut down
[3] Working status: indicator light is always on (high-grade: red light is always on, mid-range: blue light is always on, low-grade, green light is always on)
[4] Press and hold the key for 3 seconds: enter standby mode or shut down
[5] Click the key: switch gear
[How to use the switch]: Press and hold for 3 seconds to turn on, the red breathing light will turn on, and it will automatically turn blue when a certain temperature is reached. Press once to change the temperature of the blue light to medium temperature, double tap to turn green, and the temperature is Lowest, press three times for the red third gear high temperature, press and hold for 3 seconds to turn off, and automatically turn off after 2 hours of standby, no longer need to worry about the virtual power consumption
[Installation instructions]:
[1] Remove the original handlebar
[2] Wet the inner hole of the left hand with soapy water, and the twisting amplitude should not be too large during installation.
[3] When the balance bar is installed on the left handle, adjust the position of the balance bar to be slightly separated from the handle. Do not squeeze the handle when tightening the screws.
[4] Power line, the red line is connected to the positive electrode, the black line is connected to the negative electrode, please confirm [5] The left-hand handlebar should have enough power to leave the cord when installing.
[6] Put the switch L-shaped bracket on the rearview mirror, fix it to the base of the rearview mirror, and tighten it.
[Precautions]:
[1] When installing the left handle, do not twist the handle too much. Excessive twist will cause the heating wire to shift.
[2] For models with balance iron, please adjust the balance iron installation position, do not squeeze the handle when tightening the screws, the balance iron is slightly separated from the handle. If the installation position of the balance iron cannot be adjusted, please add a spacer between the balance iron and the handlebar. Excessive squeezing the handlebar will cause difficulty in turning the handlebar switch, and the heating wire will squeeze out the handlebar surface and cause abnormal damage.
[Product advantages]:
[1] Integrated molding to prevent rain and dust from entering the internal corrosion parts, longer and safer life
[2] Built-in intelligent temperature control chip, three-stage temperature adjustment, intelligent temperature control is more secure
[3] 12V voltage, 22MM handle diameter, suitable for most motorcycles
[4] Double throttle cable buckle, wider installation range
[5] Can be sealed and vented design, does not affect the handlebar outside the handlebar, only decorative lights and other decorative accessories, more beautiful and convenient
[6] The product has added standby mode. After switching to standby mode, the electric heating handle will be automatically thermostated to about 50 degrees, and it will automatically shut down after two hours. You no longer have to worry about exhausting the motorcycle battery because you forget to turn off the switch.
[Product wiring method]:
1. Connect to the electric door lock (behind the key) of the motorcycle, the red wire to the positive output wire of the electric door lock, and the black wire to any negative pole or ground on the car. [This method is suitable for those who do not want to use the standby state but are easy to forget.]
2. Connected to the positive and negative poles of the battery, red to the positive pole of the battery [+], and black to the negative pole of the battery [-] Because this electric heater has added the function of automatic shutdown on standby , even if the battery is forgot to turn off the switch, just turn on In standby mode, you don't have to worry about running out of batteries (it is recommended to turn on the standby mode in advance)